So you received a Dell Latitude e3570 for business and the laptop already has a downgrade Windows 7 Pro Operating System installed on the existing 500GB 7200RPM hard drive. You want to make the machine faster and upgrade to Windows 10, so you decide to install a 120GB SSD HDD (or a Samsung M.2) and then install Windows 10 Pro from scratch. You already have the Dell Windows 10 Pro DVD. The problem is that you don’t have a hard disk image, clone image, cloning software, or machine to clone from the old HDD to the new SSD, nor do you even want to use an existing Operating System image. You don’t want to go through the steps of an upgrade from Windows 7 Pro to Windows 10 Pro and then perform a clone as well. Well, that’s what happened to me and I usually prefer to perform a clean installation from a certified Dell Windows 10 Pro 64-Bit DVD for use with a licensed Dell computer like the one in the picture below. After banging my head over what amounts to a relatively simple solution, and doing some research, I thought I’d spare someone else the pain of what I went through by documenting the solution here.
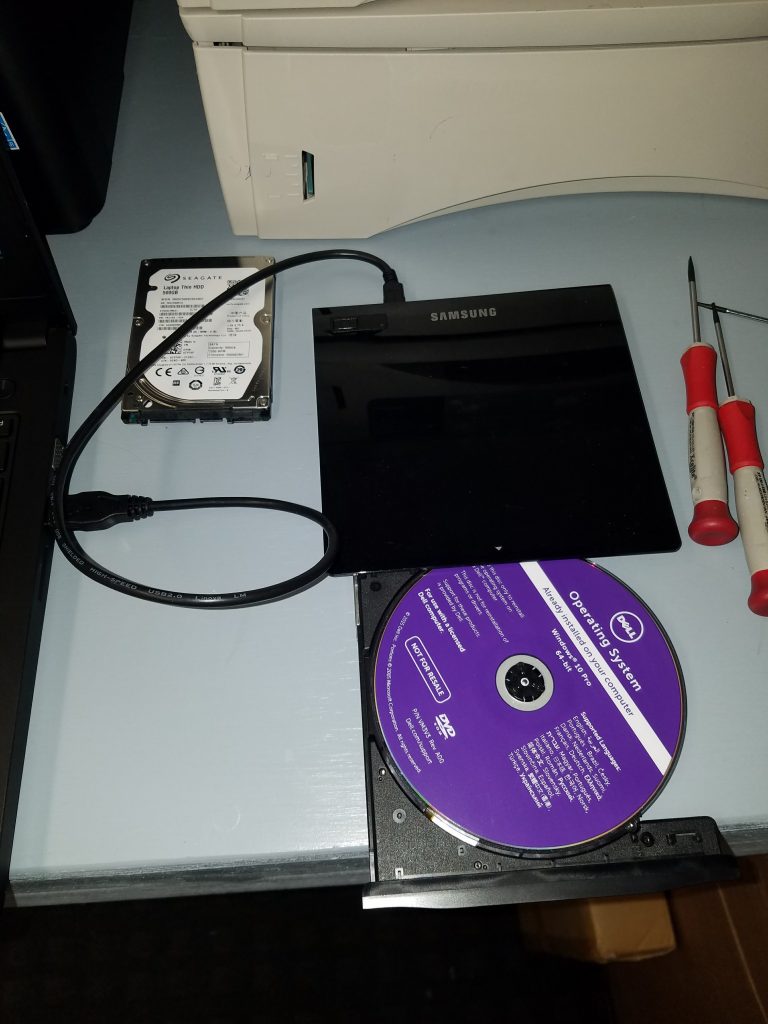
So, you gleefully pop open the back of the laptop by loosening the cover screws, replace the SATA HDD with your new SSD HDD, and close up the cover again. With an external USB DVD drive, power on the laptop, hit F12, select the Dell DVD as your boot device, and hit a brick wall with the following sequence:
Language > Country > Choose option: Troubleshoot > Reset this PC > Reset this PC: Remove everything :
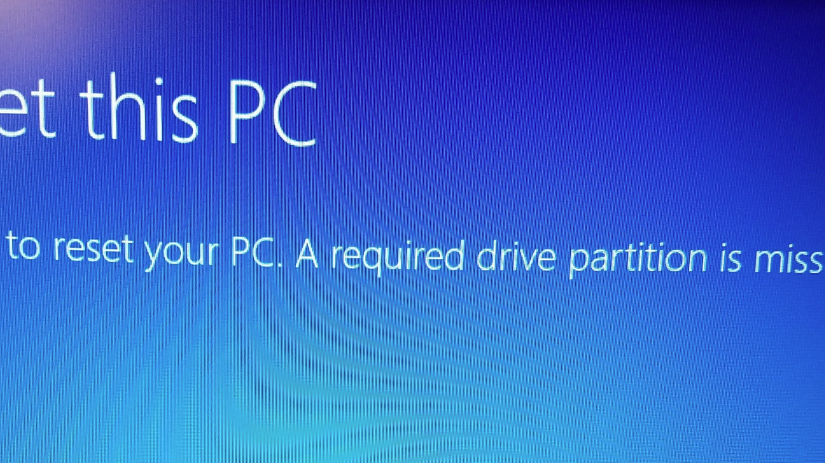
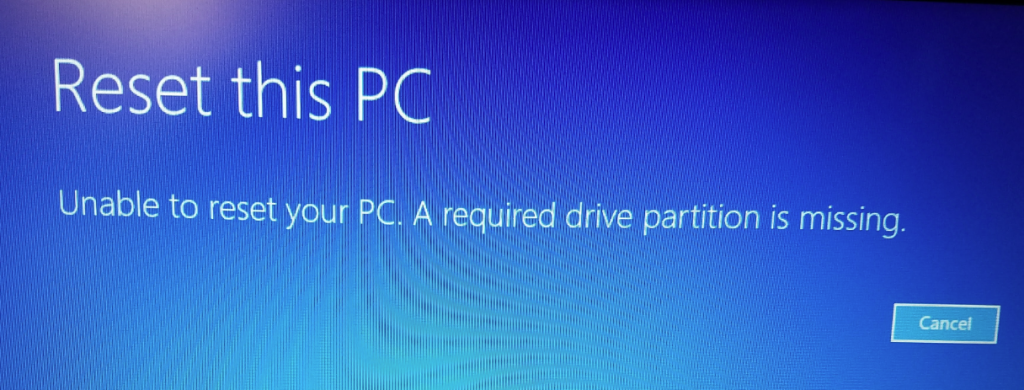
Error: Reset this PC – Unable to reset your PC. A required drive partition is missing. (cancel)
In this event, what the setup is doing is that it’s assuming you already have Windows 10 installed on the hard drive, and that perhaps it’s corrupted, and you are choosing to have the installer find the default recovery partition that’s already on the hard drive (which it isn’t because it’s a brand new-wiped-clean-by-the-factory SSD). Also, you’d already probably know that if you DID already have the recovery partition on the hard drive that you’d choose the “Repair my computer” option in the boot menu by hitting F12 when starting…
So the problem is actually not difficult to resolve because, in summary, the solution is you merely need to choose the following sequence instead and perform a “Recover from a drive“, not “Reset this PC”. *Note: if you do this, your BIOS may still hold non-recommended Boot and Drive configurations for Windows 10, so be sure to follow the instructions after the screenshots that your BIOS and new SSD HDD is set up for correct secure-boot operations.
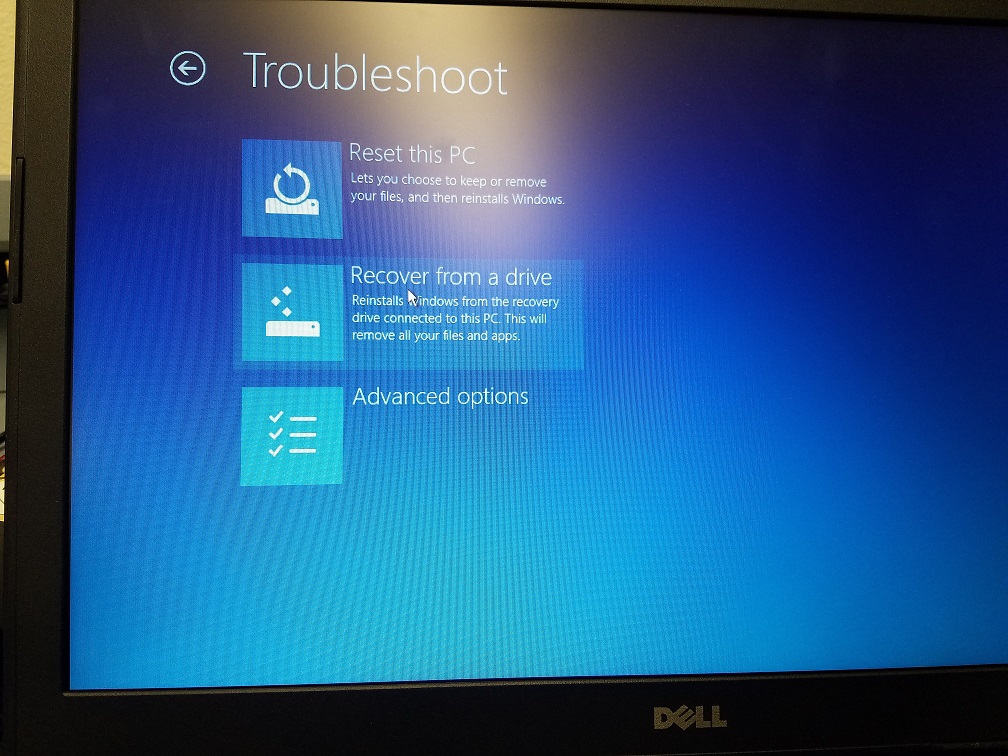
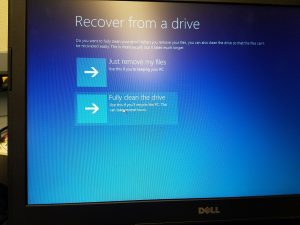
Language > Country > Choose option: Troubleshoot > Recover from a drive > Fully clean the drive
At this point, if you have replaced an M2 hard drive, you may have received the following error: “Unable to reset your pc. The system drive cannot be found.” If this is the case, skip to the bottom of this post to find new information.
Like I said, it’s a good idea to check some BIOS settings and secure your new SSD HDD boot device prior to running the system Recover > Fully clean the drive operation.
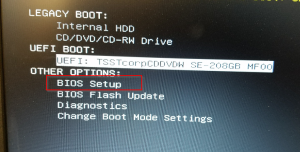
- First hit F12 and select OTHER OPTIONS: BIOS Setup
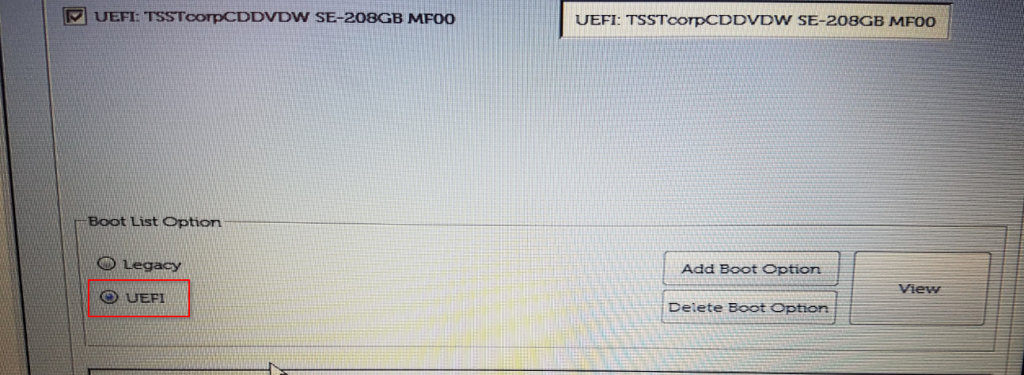
- Next under General > Boot Sequence, set the Boot List Option to UEFI
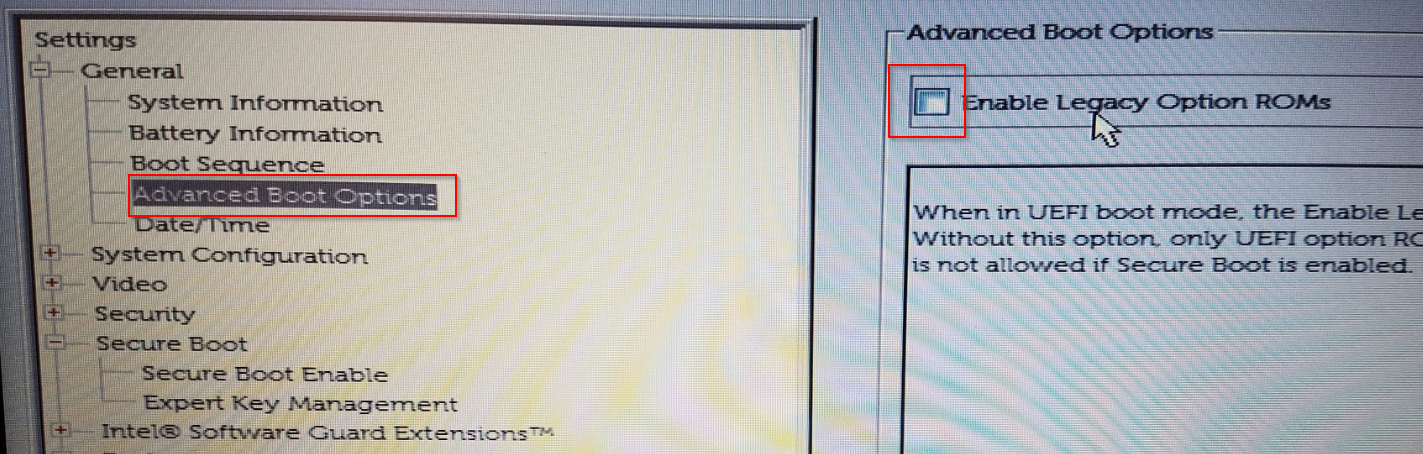
- Next, under General heading, select Advanced Boot Options and uncheck “Enable Legacy Option ROMs”
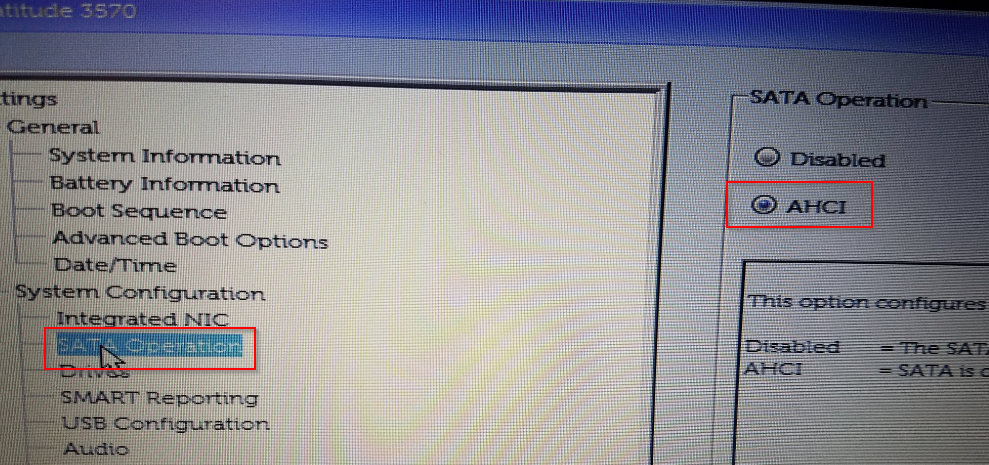
- Next, under System Configuration, make sure SATA Operation is set to AHCI:
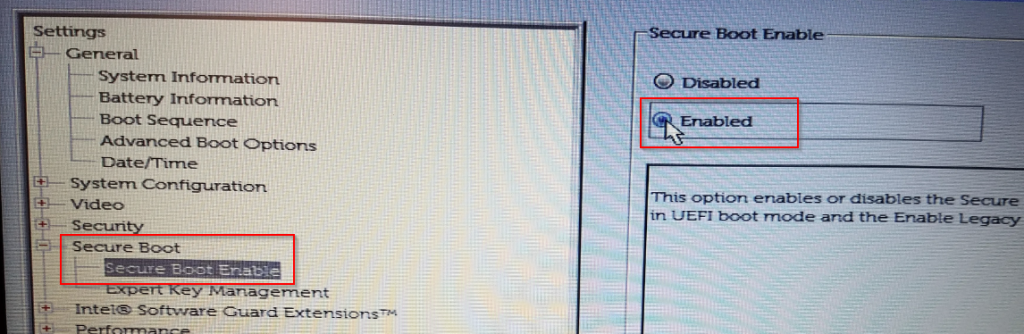
- Next, go to the heading Secure Boot and set Secure Boot Enable to Enabled:
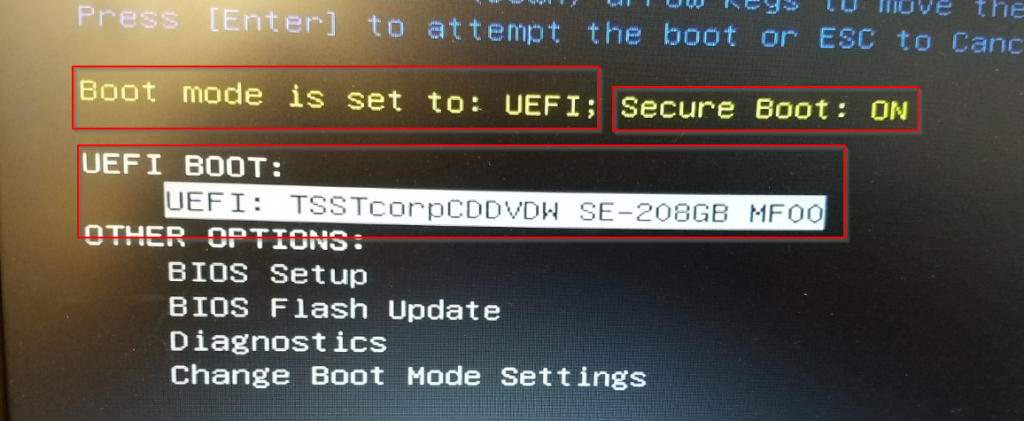
- Now save all the changes to the BIOS and restart/Save, and hit F12 again, where at the next menu you will use the UEFI BOOT: to your external USB/DVD drive:
- Now go ahead and go back to the Troubleshoot > Recover from a drive > Fully clean the drive. *Note: this action will completely destroy anything that is already on the hard drive so before you do this action, be sure you have a backup of what was previously on the drive; if anything.
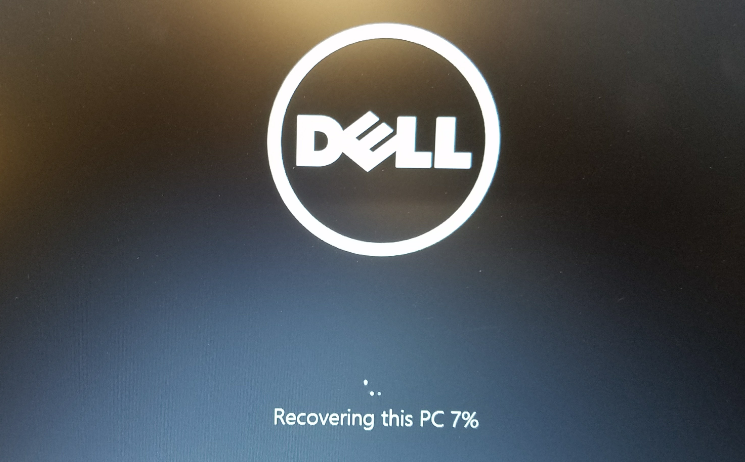
- Once the procedure runs and the machine reboots, you should see the “Recovering this PC” and a percentage status.
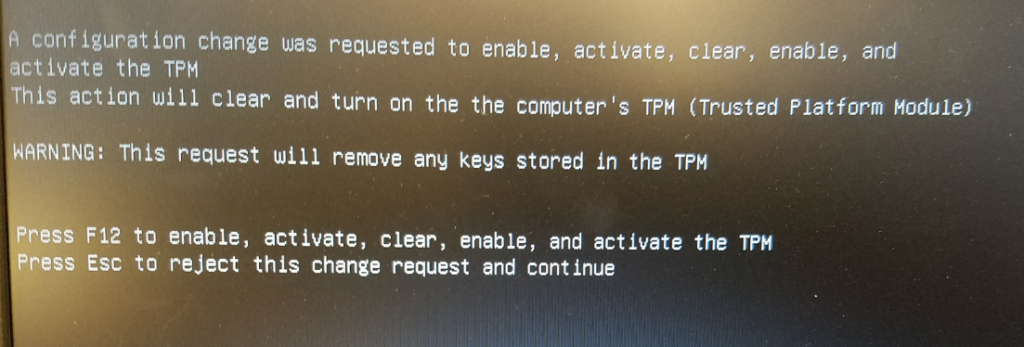
- The machine will complete the procedure and you may receive the following warning: A configuration change was requested to enable, activate, clear, enable, and activate the TPM – This action will clear and turn on the computer’s TPM (Trusted Platform Module) – WARNING: This request will remove any keys stored in the TPM: Press F12 to enable, activate, clear, enable, and activate the TPM or Press Esc to reject this change request and continue. Unless you have stored keys and want to retain them, go ahead and hit F12.
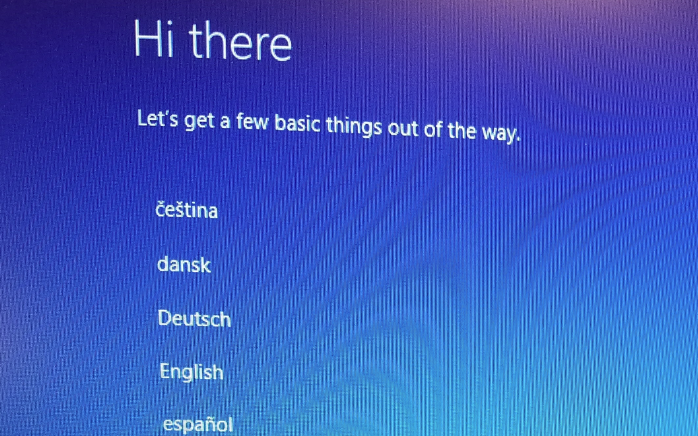
- The machine will restart a couple more times and finally, you should be prompted with the traditional setup:
- Complete the setup, remove the DVD from the computer, restart and enjoy your newly installed Windows 10 Pro on your Latitude 3570 with an SSD hard drive. In my opinion, this is a very worthwhile upgrade and the speed difference between Windows 7 Pro on a spinning HDD as compared to Windows 10 on an SSD is like night and day.
__________________
So if your error encountered during a “Recover from Drive” was: “Unable to reset your pc. The system drive cannot be found.” then you’ll want to take note. The Purple DVD you are trying to recover from may not include the required M2 Hard drive drivers in order for the installer to find your new hard drive. “Extra Fudge” found some success by downloading the drivers manually (which did not solve the problem for me – more below…) from Intel (if you’re installing an Intel M2 HDD, that is) and that information can be found here:
Dell Recovery disc not working. “Unable to reset your pc. The system drive cannot be found”
The link to the updated drivers in this post can be found here:
https://downloadcenter.intel.com/download/27147/Intel-Rapid-Storage-Technology-Intel-RST-?v=t
Like I said earlier, this fix and was not successful (perhaps because I was installing a Samsung NVMe SSD 960 EVO M.2 drive.)
Finally what solved my problem was to use the new Dell Operating System Imaging Tool, which assumably has the correct M.2 drivers baked into the image.
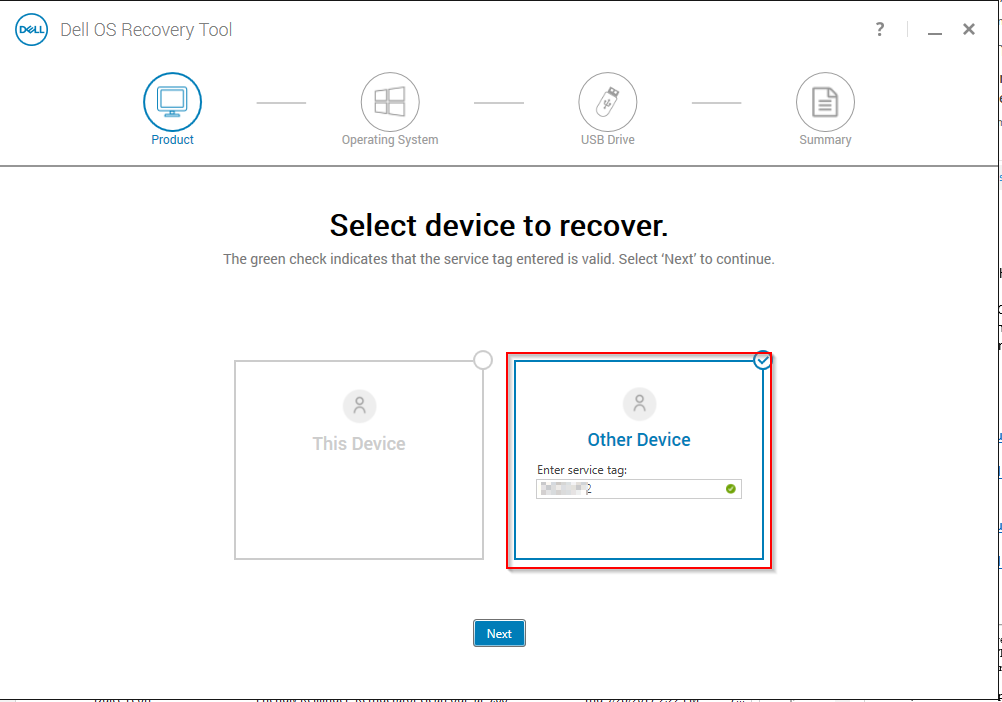
You’ll need an 8GB or larger drive USB thumb drive to complete this task. Go to Dell support https://support.dell.com, enter in the Service Tag, Select find Drivers Myself, > Select OS Windows 10, and then download the Operating System Image tool.
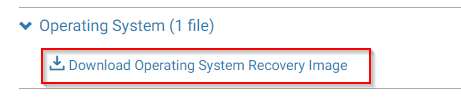
Next, run the tool and the rest is pretty self-explanatory.