To begin, it will probably take at least 30 minutes resolve this issue…
This fix solved my problem with the “vfs unable to mount root fs” error, but of course your results may vary. As always, first backup your system or do an export of the vm so you have a copy of the system as it existed before you started screwing around with it 😉
After running apt-get update / apt-get upgrade and then a reboot, you may receive the following error: kernel panic not syncing vfs unable to mount root fs on unknown-block 0 0 on ubuntu 16.04.
In many cases this will be due to the /boot drive becoming 100% full because many updates have been made to the kernel. By default, ubuntu will retain the old kernels and add them to the list of available kernels you can boot into in the Grub2 boot loader menu. You can confirm that your drive is full by issueing the command:
df -h
The result will likely show the following:
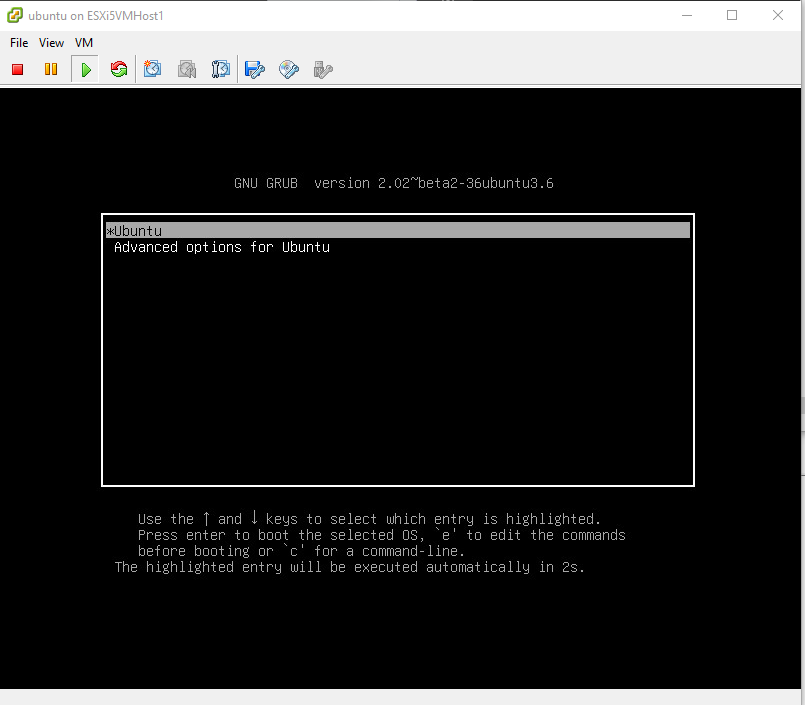
In order to resolve this issue and boot successfully, while you’re looking at the error during boot, (you should already be at the console), and restart the vm or computer into the Grub2 menu then choose “Advanced options for ubuntu” view where you can see a list of old kernels you can boot into. Some report you can do this booting with the Shift key held down, or in the event it’s a virtual machine, you should be able to arrow-down in the Grub start screen and choose Advanced options for ubuntu on startup:
Grub2 boot menu.
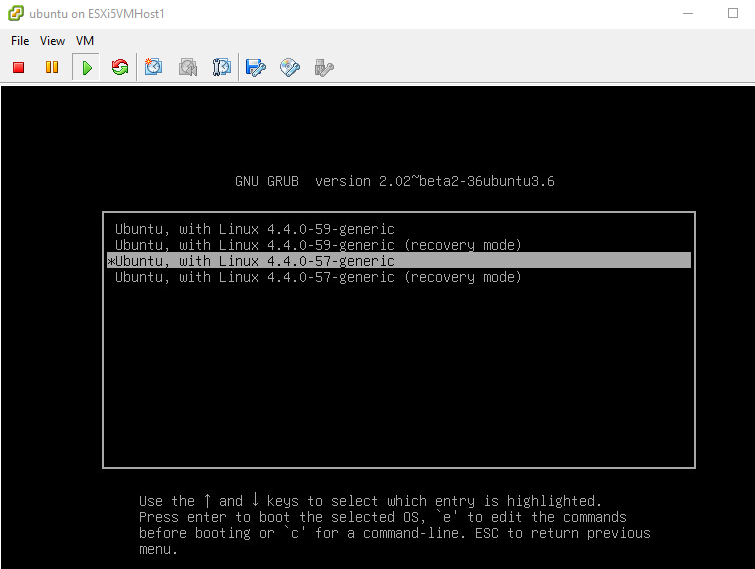
Once you go into the advanced boot menu you will likely see several kernels listed. Choose the next-oldest kernel from the top/highest version of kernels. In my case I booted into the version labeled Ubuntu, with Linux 4.4.0-57-generic (my boot menu screenshot below is clean, but you’ll likely see several kernels listed).
Cross your fingers and hope you get to your login prompt. From here I jumped on putty and connected from that client, as I prefer it over the console.
Next, login and follow the directions that I found here:
http://askubuntu.com/questions/2793/how-do-i-remove-old-kernel-versions-to-clean-up-the-boot-menu
To save you the search, here are the instructions I used to first list and then remove the old kernels:
Open terminal and check your current kernel:
uname -a
DO NOT REMOVE THIS KERNEL! Make a note of the version in notepad or something.
Next, type the command below to view/list all installed kernels on your system.
dpkg --list | grep linux-image
Find all the kernels that are lower than your current kernel version. When you know which kernel to remove, continue below to remove it. Run the commands below to remove the kernel you selected.
sudo apt-get purge linux-image-x.x.x.x-generic
Or:
sudo apt-get purge linux-image-extra-x.x.x-xx-generic
Finally, run the commands below to update grub2
sudo update-grub2
Reboot your system.
sudo reboot
As you can see from my terminal history, I had to remove a few:
589  uname -a
 590  dpkg --list | grep linux-image
 591  sudo apt-get purge linux-image-4.4.0-21-generic
 592  sudo apt-get purge linux-image-4.4.0-22-generic
 593  sudo apt-get purge linux-image-4.4.0-24-generic
 594  df -h
 595  sudo apt-get purge linux-image-4.4.0-24-generic
 596  sudo apt-get purge linux-image-4.4.0-28-generic
 597  sudo apt-get purge linux-image-4.4.0-31-generic
 598  sudo apt-get purge linux-image-4.4.0-34-generic
 599  sudo apt-get purge linux-image-4.4.0-36-generic
 600  sudo apt-get purge linux-image-4.4.0-38-generic
 601  df -h
 602  sudo apt-get purge linux-image-4.4.0-42-generic
 603  sudo apt-get purge linux-image-4.4.0-45-generic
 604  sudo apt-get purge linux-image-4.4.0-47-generic
 605  sudo apt-get purge linux-image-4.4.0-51-generic
 606  sudo apt-get purge linux-image-4.4.0-53-generic
 607  sudo update-grub2
 608  dpkg --list | grep linux-image
 609  df -h
 610  sudo apt-get purge linux-image-extra-4.4.0-21-generic
 611  sudo apt-get purge linux-image-extra-4.4.0-22-generic
 612  sudo apt-get purge linux-image-extra-4.4.0-24-generic
 613  sudo apt-get purge linux-image-extra-4.4.0-28-generic
 614  sudo apt-get purge linux-image-extra-4.4.0-31-generic
 615  sudo update-grub2
 616  df -h
 617  sudo reboot
 618  dpkg --list | grep linux-image
 619  uname -a
 620  sudo reboot
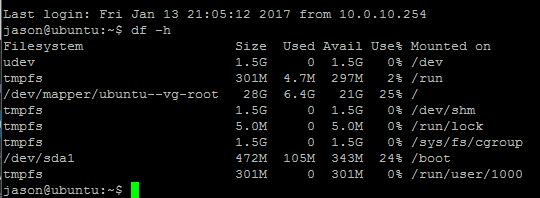
After the reboot, you can see my /boot partition returned to a manageable size:
I hope this post helps someone save some time and help them fix their ubuntu boot problems. Please leave a comment if this helped resolve your issue or if there is a smarter/faster way to fix this problem.


